July 6, 2010

Fasolia Khadra bi Banadora (Green Beans in Tomato Sauce)

Bismillahir Rahmanir Raheem


If you've been following this site for a while then you know two things by now: 1) I'm not a fan of vegetables and 2) I am a fan of Laila's recipes. So it only makes sense that when we were gifted a huge bag of fresh green beans I turned to Laila for some direction. This particular recipe stood out to me because I fondly remembering having it at my dear friends house (the same sister who taught me how to make these) and that was all the encouragement I needed.

It's no secret that most Arab dishes are not spicy so I took the liberty to up the heat factor. If you prefer the traditional version, by all means leave it out. But I liked the spicy bite to the green beans against the smoothness of the tomato sauce.

Green Beans in Tomato Sauce
Serves: 4 to 6

- 1/2 Kg Lamb meat cut into 2" cubes (I used beef)
- 1/2 kg Green Beans … you can use fresh or frozen
- 1 Onion,chopped (
- 1 tb Ghee or butter
- 2 tb Tomato sauce
- 1 ts all-spice ( I used garam masala)
- 1 ts red chili powder (adjust to your liking)
- handful chopped cilantro
- salt and pepper

1.In a pressure cooker place the Ghee (or butter) onions and meat . Cook the meat until all its liquids is released and starting to dry out.

2.Add enough water to cover approximately 2 inches above the meat , if you want to make extra stock you can always add more water …


3.Cover it and cook for half an hour until the meat is well done and tender

4.Once the meat is cooked place it in a pot, to the meat add the green beans.

5.In another pot place around 3 cups of stock and add the tomato sauce to it and stir well

6. Then add the tomato stock to the green beans and meat the green beans are supposed to be nearly covered with the stock, if it didnt cover it add a little more stock …

7.Season the green beans with the all-spice, salt and pepper, red chili powder and cook it for around half an hour until the tomato sauce is slightly thinkened and reduced. If using fresh green beans then you will need to cook it for 1 hour until the green beans the well cooked and tender. Add cilantro in the last 5 minutes of cooking. Serve it with a side of white rice or with Pita bread

July 5, 2010

Berries, Part II

Bismillahir Rahmanir Raheem


I'm a tad bit late posting this recipe, I used it to finish up the last of our hand-picked strawberries from last month. But I have good reason! If you couldn't tell from this post, we took a long road trip to spend time with those nearest and dearest to our hearts. There was not one, but two, delicious barbecues and loads more good food that could've filled up this site for weeks to come. But instead of snapping away pictures of everything we ate, I decided to go the old fashioned route and sit back and enjoy it all instead, alhamdulillah!


Back to the berries, like the other recipe, this would work equally delicious with any berry as the key to the recipe is the careful browning of the butter - it really makes a world of a difference! I used whatever bread I had on hand which is why the cups are a bit misshapen, but isn't that what a rustic dessert is all about anyways?Make sure you enjoy these warm with a nice dollop of whipped cream on the side!


Strawberry Brown Butter Betty's

Makes 6 muffin-sized desserts

3/4 stick salted or unsalted butter
1 teaspoon granulated sugar
6 slices white sandwich bread, crusts removed
1/4 cup packed dark brown sugar
1/2 teaspoon lemon zest, finely grated
1/8 teaspoon salt (omit if using salted butter)
1/2 cup breadcrumbs ( I left these out....personal preference!)
1 1/2 to 2 cups strawberries, stemmed and sliced
Softly whipped cream, for serving

Preheat oven to 350°F with rack in middle.

In a small pot, melt butter over medium heat. Once melted, reduce heat to medium-low. The butter will melt, then foam, then turn clear golden and finally start to turn brown and smell nutty. Stir frequently, scraping up any bits from the bottom as you do. Don’t take your eyes off the pot as while you may be impatient for it to start browning, the period between the time the butter begins to take on color and the point where it burns is less than a minute. Remove from heat.

Lightly butter muffin cups with some of brown butter, then sprinkle with granulated sugar. Roll bread slices with a rolling pin to flatten. Brush both sides with additional brown butter, then gently fit into muffin cups.
Stir together brown sugar, zest, salt and panko, then add strawberries and toss to coat. Stir in remaining brown butter. Heap strawberry mixture into cups, pressing gently.

Cover pan with foil and bake 15 minutes. Uncover and bake until strawberries are very tender, about 10 minutes more. Let stand 5 minutes before removing from pan. Serve warm or at room temperature.


June 21, 2010

Toddler Trail Mix

Bismillahir Rahmanir Raheem


Snack food doesn't have to equal junk food, and that's true at any age. Sure, you can buy a box of high fructose corn syrup covered with artificial flavors pressed into some unnatural shape of the latest cartoon fad. Or you can pull from naturally (as in, from nature) sweetened flavors and whole grain foods that leave you feeling satisfied - and you don't have to be a tree hugger to enjoy it (no offense to said tree huggers)!


If you ever have the chance to stock up on those little sample boxes of cereal (the unsweetened kinds, preferably) then those are perfect for this. If not, a handful of a few different types from your cupboard will do just as well. Mix them together with some dried fruits and for older kids, nuts and you're done! Proportion into individual bags and you have a healthy and sweet snack ready to go for you or your child. Who said you can't have a convenient and healthy snack in one?

June 19, 2010

Very Berry Muffins

Bismillahir Rahmanir Raheem


Have you gone pickin' yet? If you haven't, well then I feel very sorry for you. But in case you have, you know how a surplus of delicious berries overflowing in your fridge somewhere. They're almost perfect to eat by the handful, don't need any fancy recipes to enjoy the vibrant flavors, I'm sure. But in case you were in the mood to do something different with them, here's an idea: stuff as many as you can into a breakfast muffin, brew up some tea and call your girl friends over. Or do what I did and just munch on them as a midnight snack. Any time of the day, these are delicious and not too bad to look at it either!


You can easily substitute blueberries for any berry and while fresh is best, frozen is almost as good too. Also, I couldn't help but do something to showcase those tiny little strawberries so I had to use them as crown for these already bejeweled treats. The combination paired great!


Blueberry Muffins
(adapted from Martha Stewart)
  • 1/2 cup (1 stick) unsalted butter, room temperature, plus more for pan
  • 2 cups all-purpose flour, plus more for pan
  • 1 1/2 teaspoons baking powder
  • 1/2 teaspoon salt
  • 2 cups fresh blueberries
  • 1 dozen, stemmed mini strawberries
  • 1  cup sugar
  • 2 large eggs
  • 2 teaspoons pure vanilla extract
  • 1/2 cup milk
  1. Preheat oven to 375 degrees. Generously butter a standard 12-cup muffin pan and dust with flour, tapping out excess; set aside. In a medium bowl, whisk together flour, baking powder, and salt. Working over the bowl, toss blueberries in a fine sieve with about 1 1/2 teaspoons flour mixture to lightly coat; set aside the flour mixture and the blueberries.
  2. In the bowl of an electric mixer fitted with the paddle attachment, or using a hand held mixer, beat butter and 1 cup sugar on medium-high speed until light and fluffy, about 3 minutes. Add eggs, one at a time, beating until combined. Mix in vanilla. 
  3. With the mixer on low speed, add reserved flour mixture, beating until just combined. Add milk, beating until just combined. Do not over mix. Using a rubber spatula, fold in the blueberries. Divide batter evenly among the prepared muffin cups. Gently press a strawberry into the center of each muffin.
  4. Bake, rotating pan halfway though, until muffins are golden brown and a cake tester inserted in the center of one muffin comes out clean, about 30 minutes. Transfer pan to a wire rack to cool 10 minutes. Turn muffins on their sides in their cups, and let cool. Serve warm or at room temperature.

June 15, 2010

Strawberry Season

Bismillahir Rahmanir Raheem


If you're anything like the way I was, then you think all produce comes from a grocery store and your idea of fresh fruit is the lettuce heads right after they're sprayed with the automatic water sprayers in the produce case. But a few years ago, I was introduced to a whole new world where fruits and vegetables are grown outdoors and are covered with dirt and bugs, And the flavor, oh the flavor, is so much more intense and alive than anything you've ever bought from any supercenter grocery section.


There's something about getting in the dirt and plucking off food from a plant that really makes you appreciate where all this comes from. The simple act of harvesting the food you'll actually eat in a couple hours just makes you sit back and say, Alhamdulillah. How Merciful is Allah to have covered the earth with so many types of fruits and vegetable, all wonderful in their own way, for our personal enjoyment? How perfect is each crop: perfectly shaped, perfectly colored. SubhanAllah!


If you've never visited a you-pick farm before, I urge you to go as soon as possible (just google it!). You don't have to live out in the country or on a farm to pick your own summer goodies, there are many options available in metro-cities these days I'm afraid the strawberry season may be just about finished up but the warm weather has only just begun and with it comes lots of tasty treats, insha'Allah!

June 8, 2010

Eggplant and Olive Pizza

Bismillahir Rahmanir Raheem


Finally, the warm weather is here and with it comes fresh and vibrant fruits and veggies. I get so excited by the thought of crunchy and juicy produce and imagine bringing them home by the armload and....thats where my daydreaming ends. I'm not a veggie person and haven't the slightest clue what to do with them. A salad? Sure, if all you got is lettuce and tomatoes but what to do with fun things like green beans and eggplant?


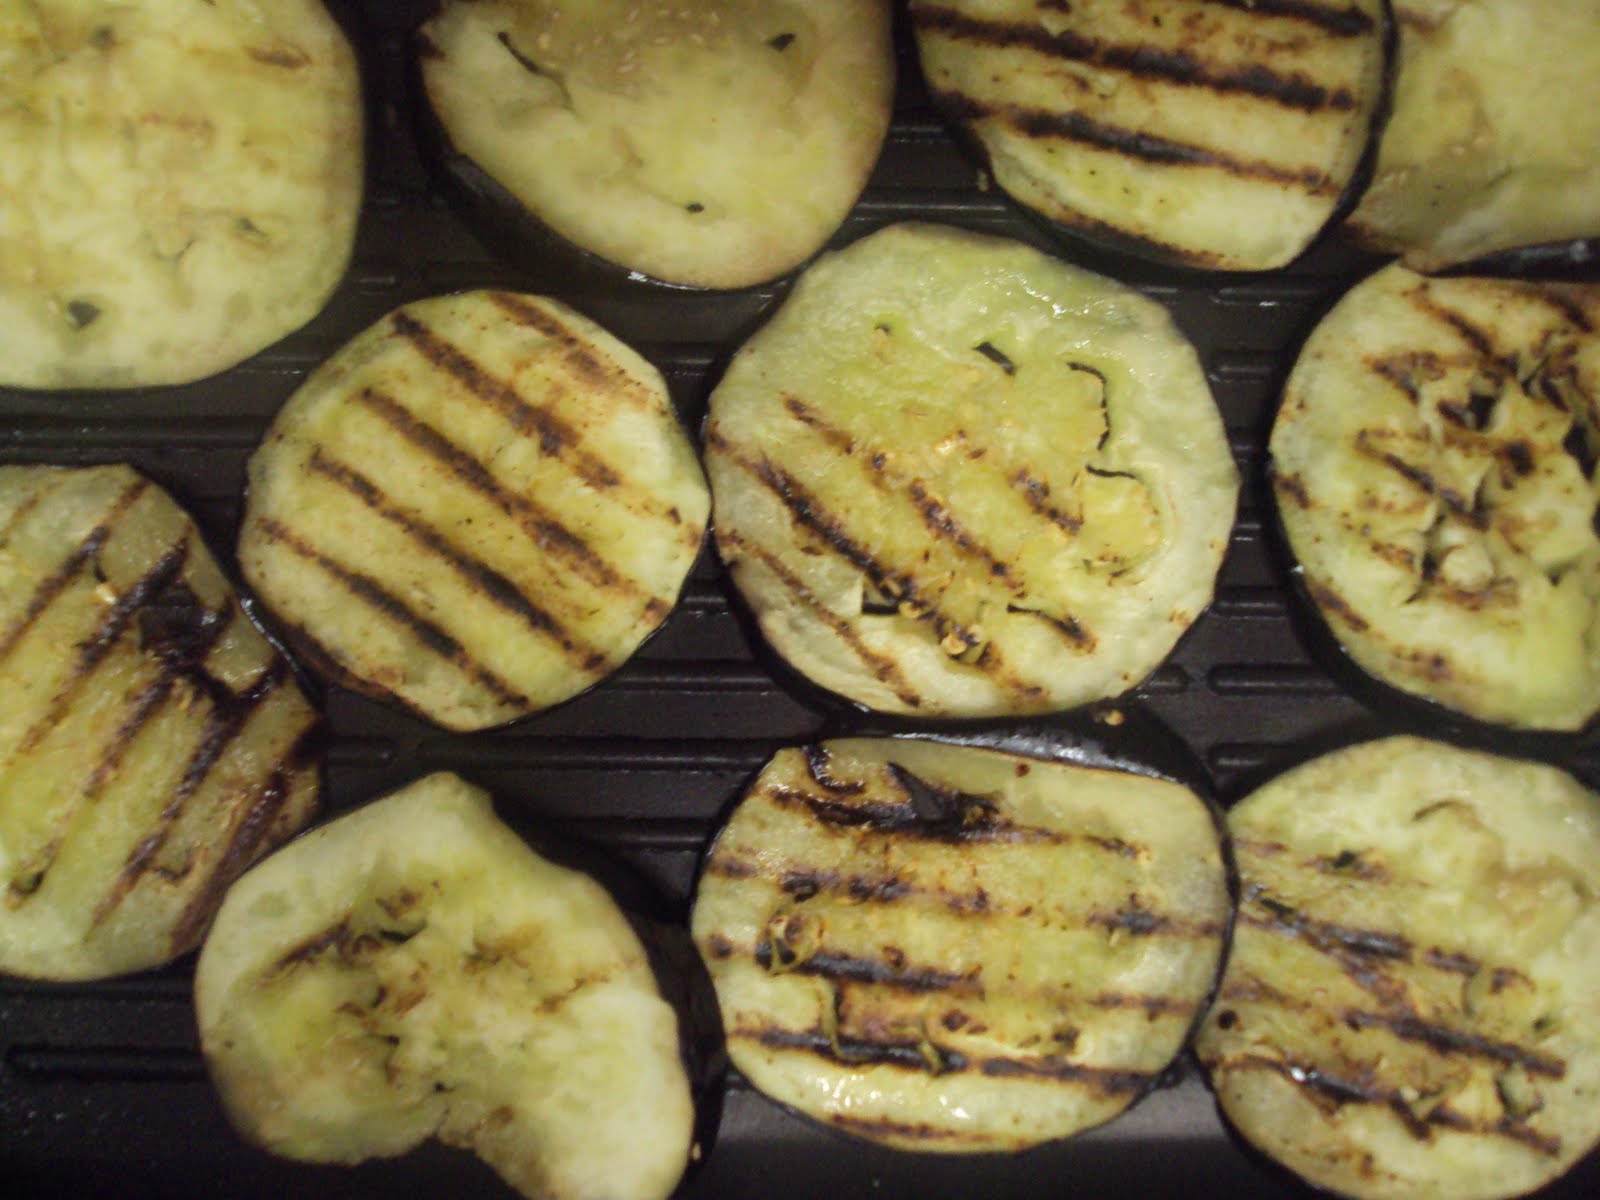
Well its no surprise we love pizza around here so this recipe just sounded too goo to pass up. We always have at least one jar of spicy green olives so I used those and only had mozerella on hand, which wasn't a problem either as the star of the show is the eggplant. Take that extra few minutes to grill for an extra smokey taste that's amazing (I sliced mine thin just to speed along the process). I also took the liberty to add a layer or carmalized onions. Go crazy with it, just make sure you go eggplant with it as well!


Grilled Eggplant and Olive Pizza
Adapted from Gourmet, August 2009


1 garlic clove, minced
1/3 cup extra-virgin olive oil
1 1/4 pound eggplant, cut into 3/4-inch-thick rounds
1 pound store-bought pizza or homemade pizza dough at room temperature
5 ounces sliced provolone, cut into short thin matchsticks (1 1/4 cups)
Handful pitted green olives, coarsely chopped (1/3 cup)
1/4 cup chopped flat-leaf parsley

To make this pizza on a grill, or in a grill pan: Stir together garlic and oil. Brush some of garlic oil on both sides of eggplant and season with 3/4 teaspoon salt and 1/2 teaspoon pepper. Grill over direct medium heat, covered, turning once, until tender, 6 to 8 minutes total. Cut into roughly one-inch pieces and set aside.
Stretch dough into about a 12- by 10-inch rectangle (or into the shape of your grill pan, which in my case, was square) on a large baking sheet or your counter and lightly brush with garlic oil. Oil grill rack, then put dough, oiled side down, on grill. Brush top with more garlic oil. Grill, covered, until underside is golden-brown, about 2 to 3 minutes.

Using tongs, return crust, grilled side up, to baking sheet. Scatter eggplant, cheese, olives, and parsley (whoops, forgot mine) over crust. Slide pizza from sheet onto grill and grill, covered, until underside is golden-brown and cheese is melted, about 3 to 5 minutes. (If you’re using an oven-safe grill pan, you can slide the pan into a preheated 500 degree oven at this point, as we did, which gets the toppings that much more blistered.) Season to taste with salt, pepper and a red pepper flakes.

To make this pizza in the oven: You can either fry or roast the eggplant slices, brushed with garlic oil, until tender. Prepare the pizza as you would any other, rolling or stretching out the dough, mounding on the toppings and sliding it onto a baking sheet or pizza stone in an oven that has been preheated to its top temperature. It will be ready in about 10 minutes.

June 2, 2010

Cheesecake

Bismillahir Rahmanir Raheem


I've made cheesecake-themed things before and a while back made a halal-ified version of this pumpkin cheesecake. But a plain, classic cheesecake? I never really went there. Sure, I made some fake versions by blending some cream cheese, sugar and vanilla together, scooped into a dessert glass and topped with fruit. But those things never saw the inside of an oven making it, in my mind at least, a cheat-sheet version and not the real deal. So I finally caved in and went as classic as you could go with cheesecake: I made the version right off the box (es).


It was creamy, it was smooth, it was tangy and sweet at the same time, it was too much. No literally, it was too much. Maybe my pan wasn't deep enough, or may I was too scared to fill it to the tippy-top (it did sink a bit after baking), but I had enough batter left over to make a small 6" cheesecake on the side, so no complaints there.


I kept it naked but this would be delicious with a fresh fruit topping or a dollop of whipped cream. Either way, this is a must have for your collection of classic desserts.


Philadelphia New York Cheesecake

  • 1 1/4 cups HONEY MAID Graham Cracker Crumbs
  • 1/4 cup butter, melted
  • 5 (250 g) packages PHILADELPHIA Brick Cream Cheese, softened
  • 1 cup sugar
  • 3 tablespoons flour
  • 1 tablespoon vanilla
  • 1 cup sour cream
  • 4 eggs
  • 1 (19 ounce) can cherry pie filling
  •  
  1. Heat oven to 325 degrees F if using a silver 9 inch spring-form pan (or to 300 degrees F if using a dark nonstick 9-inch spring-form pan). Mix crumbs and butter; press firmly onto bottom of pan. Bake 10 minutes.( I used a 9 x 13 pan, and had some batter left over for a 6" round spring-form pan).
  2. Beat cream cheese, sugar, flour and vanilla in large bowl with electric mixer on medium speed until well blended. Add sour cream; mix well. Add eggs, one at a time, mixing on low speed after each addition just until blended. Pour over crust.
  3. Bake 1 hour 10 minutes or until center is almost set. Run knife or metal spatula around rim of pan to loosen cake; cool before removing rim of pan. Refrigerate 4 hours or overnight. Top with pie filling before serving. Store leftover cheesecake in refrigerator.